Explore your data with SQL. Easily create charts and dashboards, and share them with your team.
Try it out
Blazer is also available as a Docker image.
🍊 Battle-tested at Instacart
- Multiple data sources – PostgreSQL, MySQL, Redshift, and many more
- Variables – run the same queries with different values
- Checks & alerts – get emailed when bad data appears
- Audits – all queries are tracked
- Security – works with your authentication system
- Installation
- Queries
- Charts
- Dashboards
- Checks
- Cohorts
- Anomaly Detection
- Forecasting
- Uploads
- Data Sources
- Query Permissions
Add this line to your application’s Gemfile:
Run:
And mount the dashboard in your config/routes.rb:
For production, specify your database:
When possible, Blazer tries to protect against queries which modify data by running each query in a transaction and rolling it back, but a safer approach is to use a read-only user. See how to create one.
Be sure to set a host in config/environments/production.rb for emails to work.
Schedule checks to run (with cron, Solid Queue, Heroku Scheduler, etc). The default options are every 5 minutes, 1 hour, or 1 day, which you can customize. For each of these options, set up a task to run.
You can also set up failing checks to be sent once a day (or whatever you prefer).
Here’s what it looks like with cron.
For Solid Queue, update config/recurring.yml.
For Slack notifications, create an incoming webhook and set:
Name the webhook “Blazer” and add a cool icon.
Don’t forget to protect the dashboard in production.
Set the following variables in your environment or an initializer.
Specify a before_action method to run in config/blazer.yml.
You can define this method in your ApplicationController.
Be sure to render or redirect for unauthorized users.
Create a user with read-only permissions:
Create a user with read-only permissions:
If your database contains sensitive or personal data, check out Hypershield to shield it.
If you need to search encrypted data, use blind indexing.
You can have Blazer transform specific variables with:
Create queries with variables.
Use {start_time} and {end_time} for time ranges. Example
Example
Suppose you have the query:
Instead of remembering each occupation’s id, users can select occupations by name.
Add a smart variable in config/blazer.yml with:
The first column is the value of the variable, and the second column is the label.
You can also use an array or hash for static data and enums.
Example – title column
Link results to other pages in your apps or around the web. Specify a column name and where it should link to. You can use the value of the result with {value}.
Example – occupation_id column
Suppose you have the query:
See which city the user belongs to without a join.
You can also use a hash for static data and enums.
Blazer can automatically cache results to improve speed. It can cache slow queries:
Or it can cache all queries:
Of course, you can force a refresh at any time.
Blazer will automatically generate charts based on the types of the columns returned in your query.
Note: The order of columns matters.
There are two ways to generate line charts.
2+ columns – timestamp, numeric(s) – Example
3 columns – timestamp, string, numeric – Example
There are also two ways to generate column charts.
2+ columns – string, numeric(s) – Example
3 columns – string, string, numeric – Example
2 columns – both numeric – Example
2 columns – string, numeric – and last column named pie – Example
Columns named latitude and longitude or lat and lon or lat and lng – Example
or a column named geojson
To enable, get an access token from Mapbox and set ENV[“MAPBOX_ACCESS_TOKEN”].
Use the column name target to draw a line for goals. Example
Create a dashboard with multiple queries. Example
If the query has a chart, the chart is shown. Otherwise, you’ll see a table.
If any queries have variables, they will show up on the dashboard.
Checks give you a centralized place to see the health of your data. Example
Create a query to identify bad rows.
Then create check with optional emails if you want to be notified. Emails are sent when a check starts failing, and when it starts passing again.
Create a cohort analysis from a simple SQL query. Example
Create a query with the comment /* cohort analysis */. The result should have columns named user_id and conversion_time and optionally cohort_time.
You can generate cohorts from the first conversion time:
(the first conversion isn’t counted in the first time period with this format)
Or from another time, like sign up:
This feature requires PostgreSQL or MySQL 8.
Blazer supports three different approaches to anomaly detection.
Add prophet-rb to your Gemfile:
And add to config/blazer.yml:
Add trend to your Gemfile:
Set the URL to the API in an initializer:
And add to config/blazer.yml:
Add anomaly_detection to your Gemfile:
And add to config/blazer.yml:
Blazer supports for two different forecasting methods. Example
A forecast link will appear for queries that return 2 columns with types timestamp and numeric.
Add prophet-rb to your Gemfile:
And add to config/blazer.yml:
Add trend to your Gemfile:
Set the URL to the API in an initializer:
And add to config/blazer.yml:
Create database tables from CSV files. Example
Run:
And add to config/blazer.yml:
This feature requires PostgreSQL. Create a new schema just for uploads.
Blazer supports multiple data sources 🎉
Add additional data sources in config/blazer.yml:
- Amazon Athena
- Amazon Redshift
- Apache Drill
- Apache Hive
- Apache Ignite
- Apache Spark
- Cassandra
- Druid
- Elasticsearch
- Google BigQuery
- IBM DB2 and Informix
- InfluxDB
- MySQL and MariaDB
- Neo4j
- OpenSearch
- Oracle
- PostgreSQL
- Presto and Trino
- Salesforce
- Snowflake
- Socrata Open Data API (SODA)
- SQLite
- SQL Server
You can also create an adapter for any other data store.
Note: In the examples below, we recommend using environment variables for urls.
Add aws-sdk-athena and aws-sdk-glue to your Gemfile and set:
Here’s an example IAM policy:
You also need to configure S3 permissions.
Add activerecord7-redshift-adapter-pennylane to your Gemfile and set:
Use a read-only user.
Add drill-sergeant to your Gemfile and set:
Use a read-only user.
Add hexspace to your Gemfile and set:
Use a read-only user. Requires HiveServer2.
Add ignite-client to your Gemfile and set:
Use a read-only user (requires a third-party plugin).
Add hexspace to your Gemfile and set:
Use a read-only user. Requires the Thrift server.
Add cassandra-driver and sorted_set to your Gemfile and set:
Use a read-only role.
Enable SQL support on the broker and set:
Use a read-only role.
Add elasticsearch to your Gemfile and set:
Use a read-only role.
Add google-cloud-bigquery to your Gemfile and set:
Add ibm_db to your Gemfile and set:
Use a read-only user.
Add influxdb to your Gemfile and set:
Use a read-only user. Supports InfluxQL.
Add mysql2 to your Gemfile (if it’s not there) and set:
Use a read-only user.
Add neo4j-ruby-driver to your Gemfile and set:
Use a read-only user.
Add opensearch-ruby to your Gemfile and set:
Use a read-only user.
Add activerecord-oracle_enhanced-adapter and ruby-oci8 to your Gemfile and set:
Use a read-only user.
Add pg to your Gemfile (if it’s not there) and set:
Use a read-only user.
Add presto-client or trino-client to your Gemfile and set:
Use a read-only user for Presto or Trino.
Add restforce to your Gemfile and set:
And set the appropriate environment variables:
Use a read-only user. Supports SOQL.
First, install ODBC. For Homebrew, use:
For Ubuntu, use:
For Heroku, use the Apt buildpack and create an Aptfile with:
This installs the driver at /app/.apt/usr/lib/snowflake/odbc/lib/libSnowflake.so
Then, download the Snowflake ODBC driver. Add odbc_adapter to your Gemfile and set:
Use a read-only role.
Set:
Supports SoQL.
Add sqlite3 to your Gemfile and set:
Add tiny_tds and activerecord-sqlserver-adapter to your Gemfile and set:
Use a read-only user.
Create an adapter for any data store with:
See the Presto adapter for a good example. Then use:
Blazer supports a basic permissions model.
- Queries without a name are unlisted
- Queries whose name starts with # are only listed to the creator
- Queries whose name starts with * can only be edited by the creator
Have team members who want to learn SQL? Here are a few great, free resources.
- The Data School
- SQLBolt
For an easy way to group by day, week, month, and more with correct time zones, check out Groupdate.sql.
By default, queries take up a request while they are running. To run queries asynchronously, add to your config:
Note: Requires caching to be enabled. If you have multiple web processes, your app must use a centralized cache store like Memcached or Redis.
Archive queries that haven’t been viewed in over 90 days.
If views are stuck with a Loading… message, there might be a problem with strict CSP settings in your app. This can be checked with Firefox or Chrome dev tools. You can allow Blazer to override these settings for its controllers with:
View the changelog
Blazer uses a number of awesome open source projects, including Rails, Vue.js, jQuery, Bootstrap, Selectize, StickyTableHeaders, Stupid jQuery Table Sort, and Date Range Picker.
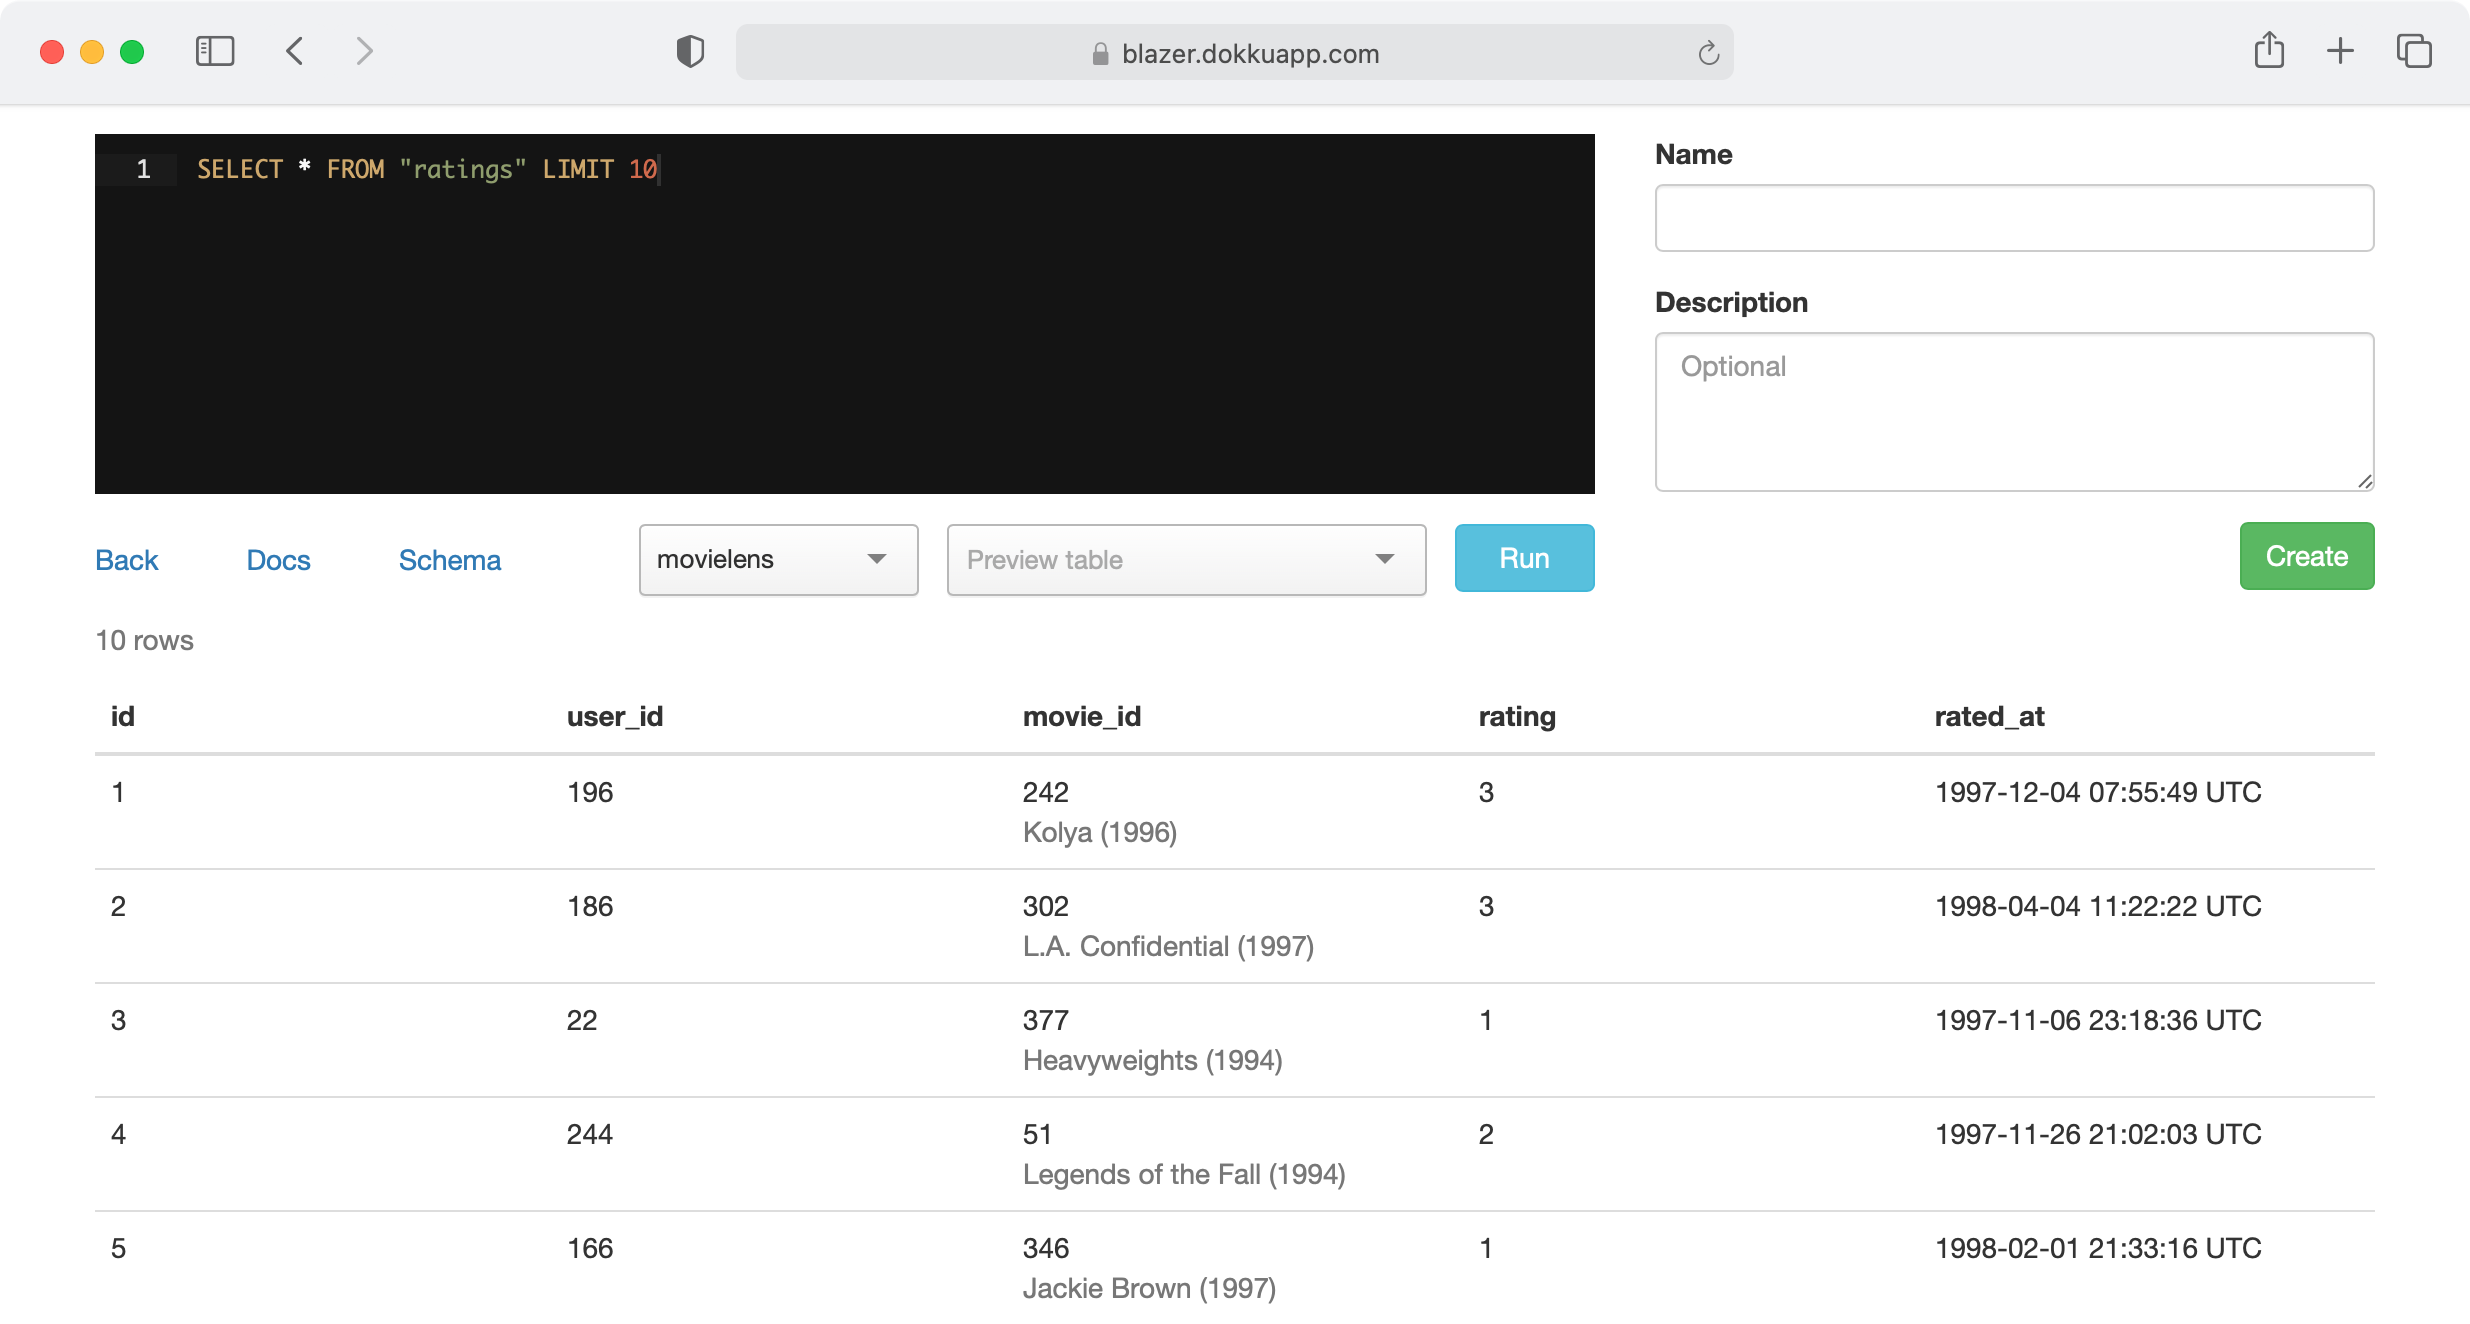
Demo data from MovieLens.
That’s awesome! Here are a few ways you can help:
- Report bugs
- Fix bugs and submit pull requests
- Write, clarify, or fix documentation
- Suggest or add new features
Check out the dev app to get started.